For more information about HALPI2, see the HALPI2 product page and the previous posts about HALPI2: HALPI2 Available for Pre-orders and HALPI2 Thermal Performance.
I have been in a crunch mode for the past few weeks, working on finalizing the HALPI2 software and preparing for production. (I am also severely backlogged on my emails, sorry!) I have had the third prototype/pre-production PCBs for a week now, and they are looking great. The display connectors finally work, and all other (known) bugs seem to have been squashed. If further testing does not reveal any new issues, these PCBs will be used for fulfilling the most of the pre-orders.
Some software work remains to be done, and I am waiting for the last component shipment. At the moment it looks like the first pre-orders can be shipped during the first half of June, but I will keep you updated on the progress. The pre-orders are still open, so if you want to get your HALPI2 at a 15% discount, now is the time to order!
Read on to learn more about the HALPI2 software plan and the production preparations.
HALPI2 Software Plan
HALPI2 includes an RP2040 microcontroller that manages the device power and peripherals. The RP2040 is designed by the Raspberry Pi Foundation and powers their Raspberry Pi Pico microcontroller board. It has a comparatively powerful dual-core ARM Cortex-M0+ CPU, 264 kB of RAM, and a wide range of peripherals.
The HALPI2 RP2040 firmware is written in Rust, using the Embassy framework. Rust is a great language for embedded systems development, providing memory safety and concurrency without a garbage collector. Likewise, Embassy is a modern asynchronous framework for embedded systems that provides a high-level API for writing efficient and responsive firmware. Together, they enable writing robust and efficient firmware for HALPI2.
The basic firmware functionality has been written, and I am now working on enabling firmware upgrades over I2C. This will allow the Raspberry Pi to update the RP2040 firmware, enabling new features and bug fixes without requiring physical access to the device.
Simultaneously with the firmware, I am adapting the SH-RPi daemon software that runs on the Raspberry Pi to be used on HALPI2. The daemon provides an interface for managing the HALPI2 device. It can be used to monitor the HALPI2 device status including the board temperature, input voltage and current, optional user-configurable buttons, and so on. Together with the firmware, it also provides a watchdog mechanism that can be used to ensure the device is running correctly and can recover from operating system hiccups.
One nice feature of the HALPI2 is that it can remotely power-cycle any of the USB ports. This is useful in case a USB device stops responding or needs to be reset. The HALPI2 daemon can be used to manage the USB ports, allowing you to power-cycle them remotely. The same functionality also exists for the PCIe port, although that equals to shooting yourself in the foot if an NVMe hard disk is used.
The daemon can also be configured to launch a custom script when the power is cut off, allowing you to perform custom actions before the device shuts down. However, the smart shutdown functionality works even without the daemon. In this case, the controller sends a double power button press to the Raspberry Pi. As long as the operating system is configured to handle this correctly, it will perform a clean shutdown before the power is cut off.
The SH-RPi daemon and system configuration are deployed as a custom shell script. The HALPI2 daemon and system configuration data will be provided as Debian packages, making updates work seamlessly with the standard Raspberry Pi OS tools. The Debian packages will also support transparent firmware upgrades.
I have maintained a custom OpenPlotter 4 image for the HALPI computers. This approach will continue with HALPI2, and I am planning to provide prebuilt images for both Raspberry Pi OS and OpenPlotter 4. The images will include the HALPI2 daemon, firmware, and system configuration, making it easy to get started with HALPI2.
I hope to finish the I2C firmware upgrade functionality soon, which will then allow me to finalize the HALPI2 daemon and system configuration, prepare the Debian packages and a repository, and build the prebuilt images.
HALPI2 Production Preparations
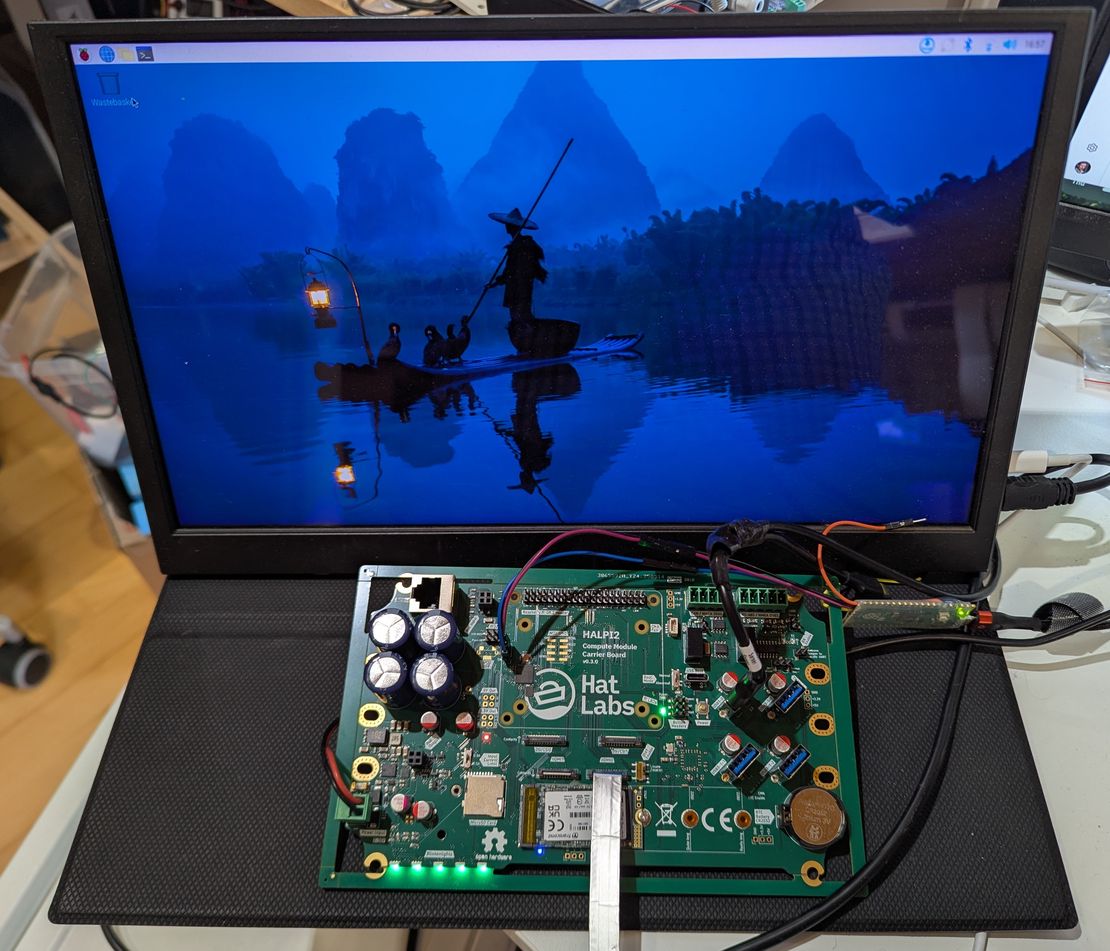
Version 0.3.0 of the HALPI2 PCB is working well. I have tested the HDMI output with a number of displays. Full HD (1920x1080) works flawlessly. 4K (3840x2160) at 60Hz works with some displays and cables, but not all. In the future, I may test producing custom FFC cables for improved signal integrity, but at launch, 4K at 60Hz will not be guaranteed to work with all displays.
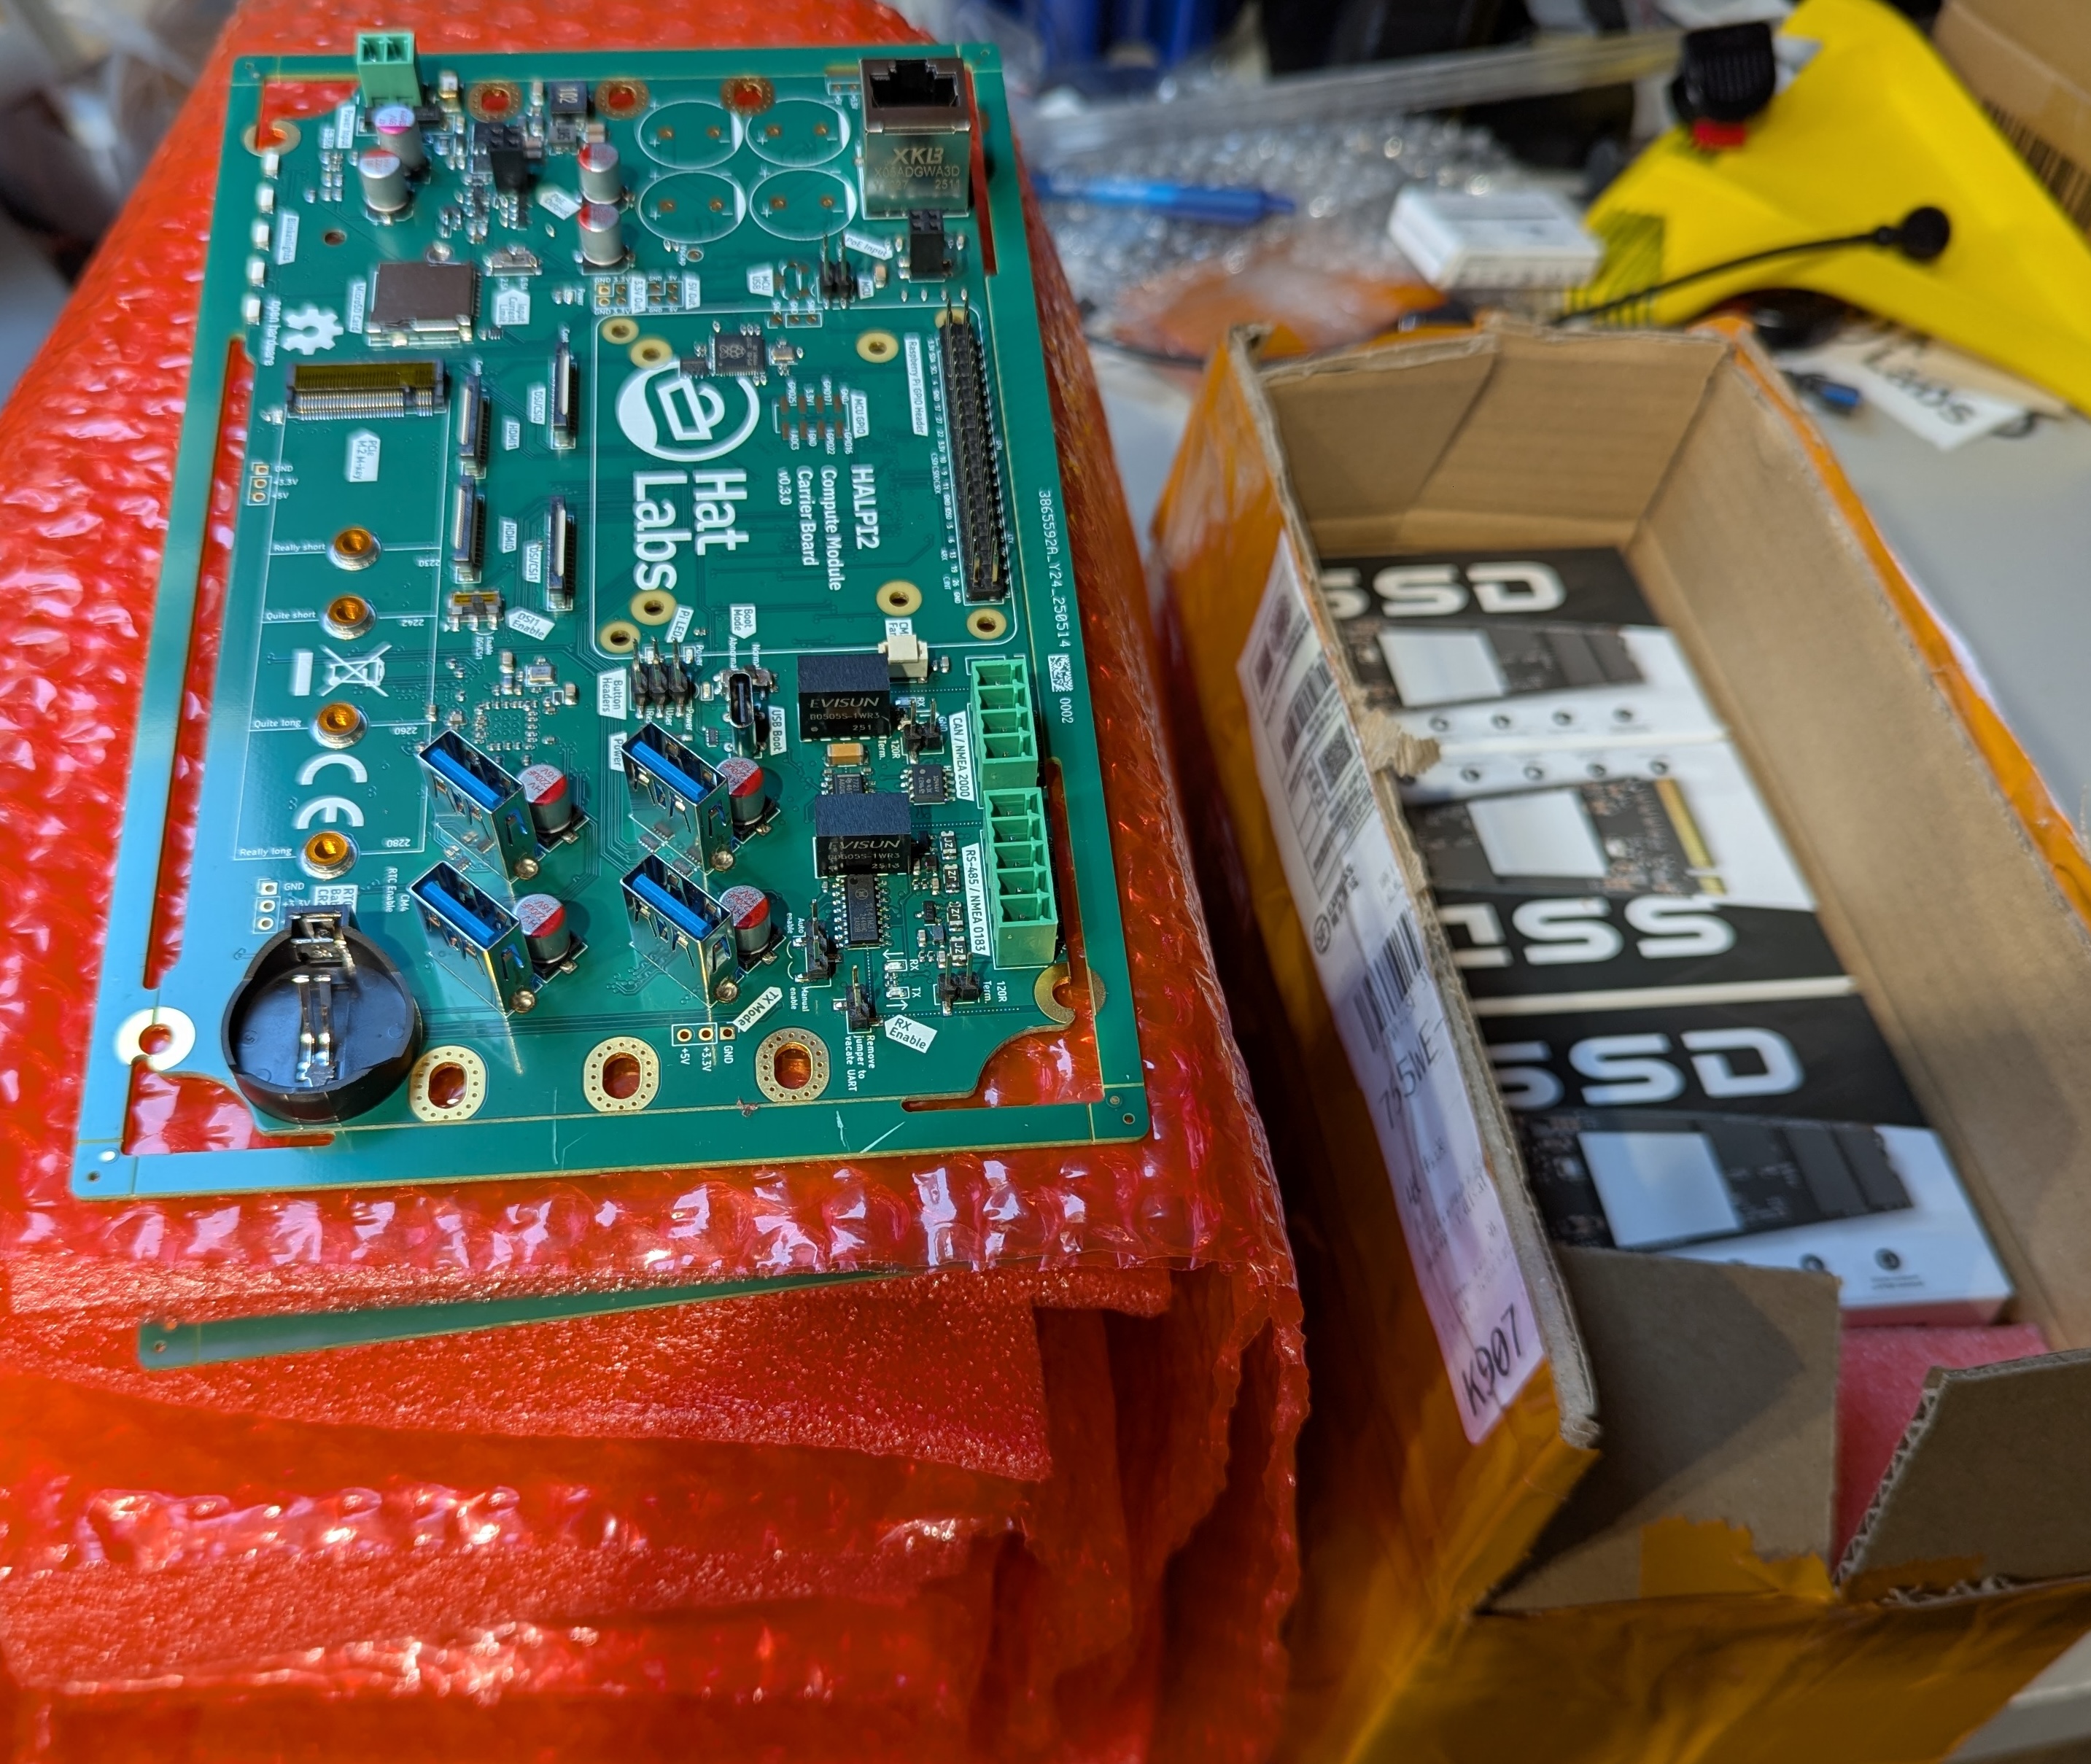
Factory-packaged HALPI2 v0.3.0 PCBs and a box of SSDs.
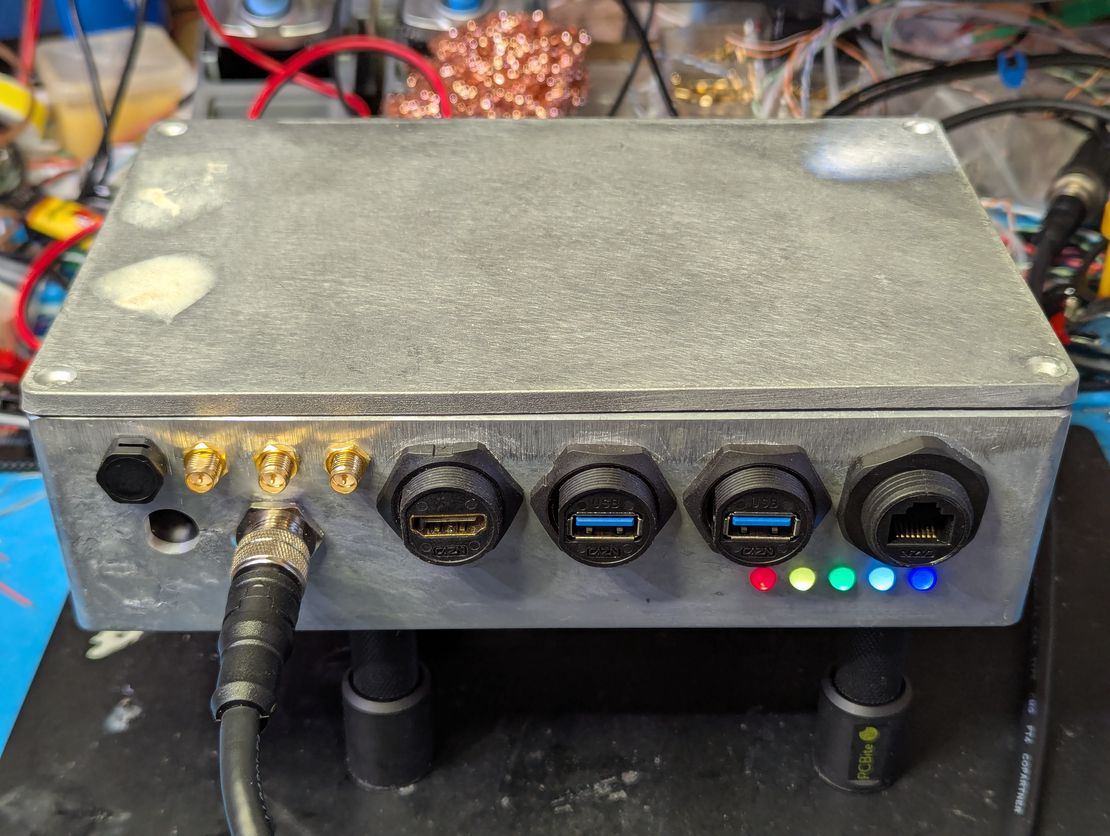
Most of the other hardware components are also ready and waiting. I have received the enclosures, and they are gorgeous! My lab space is also bursting with cardboard boxes of other bits and pieces: terminal blocks, LED light pipes, breather plugs, cable glands, on so on. The only major component that is still missing is the panel connectors and cables, which are expected to be shipped soon.
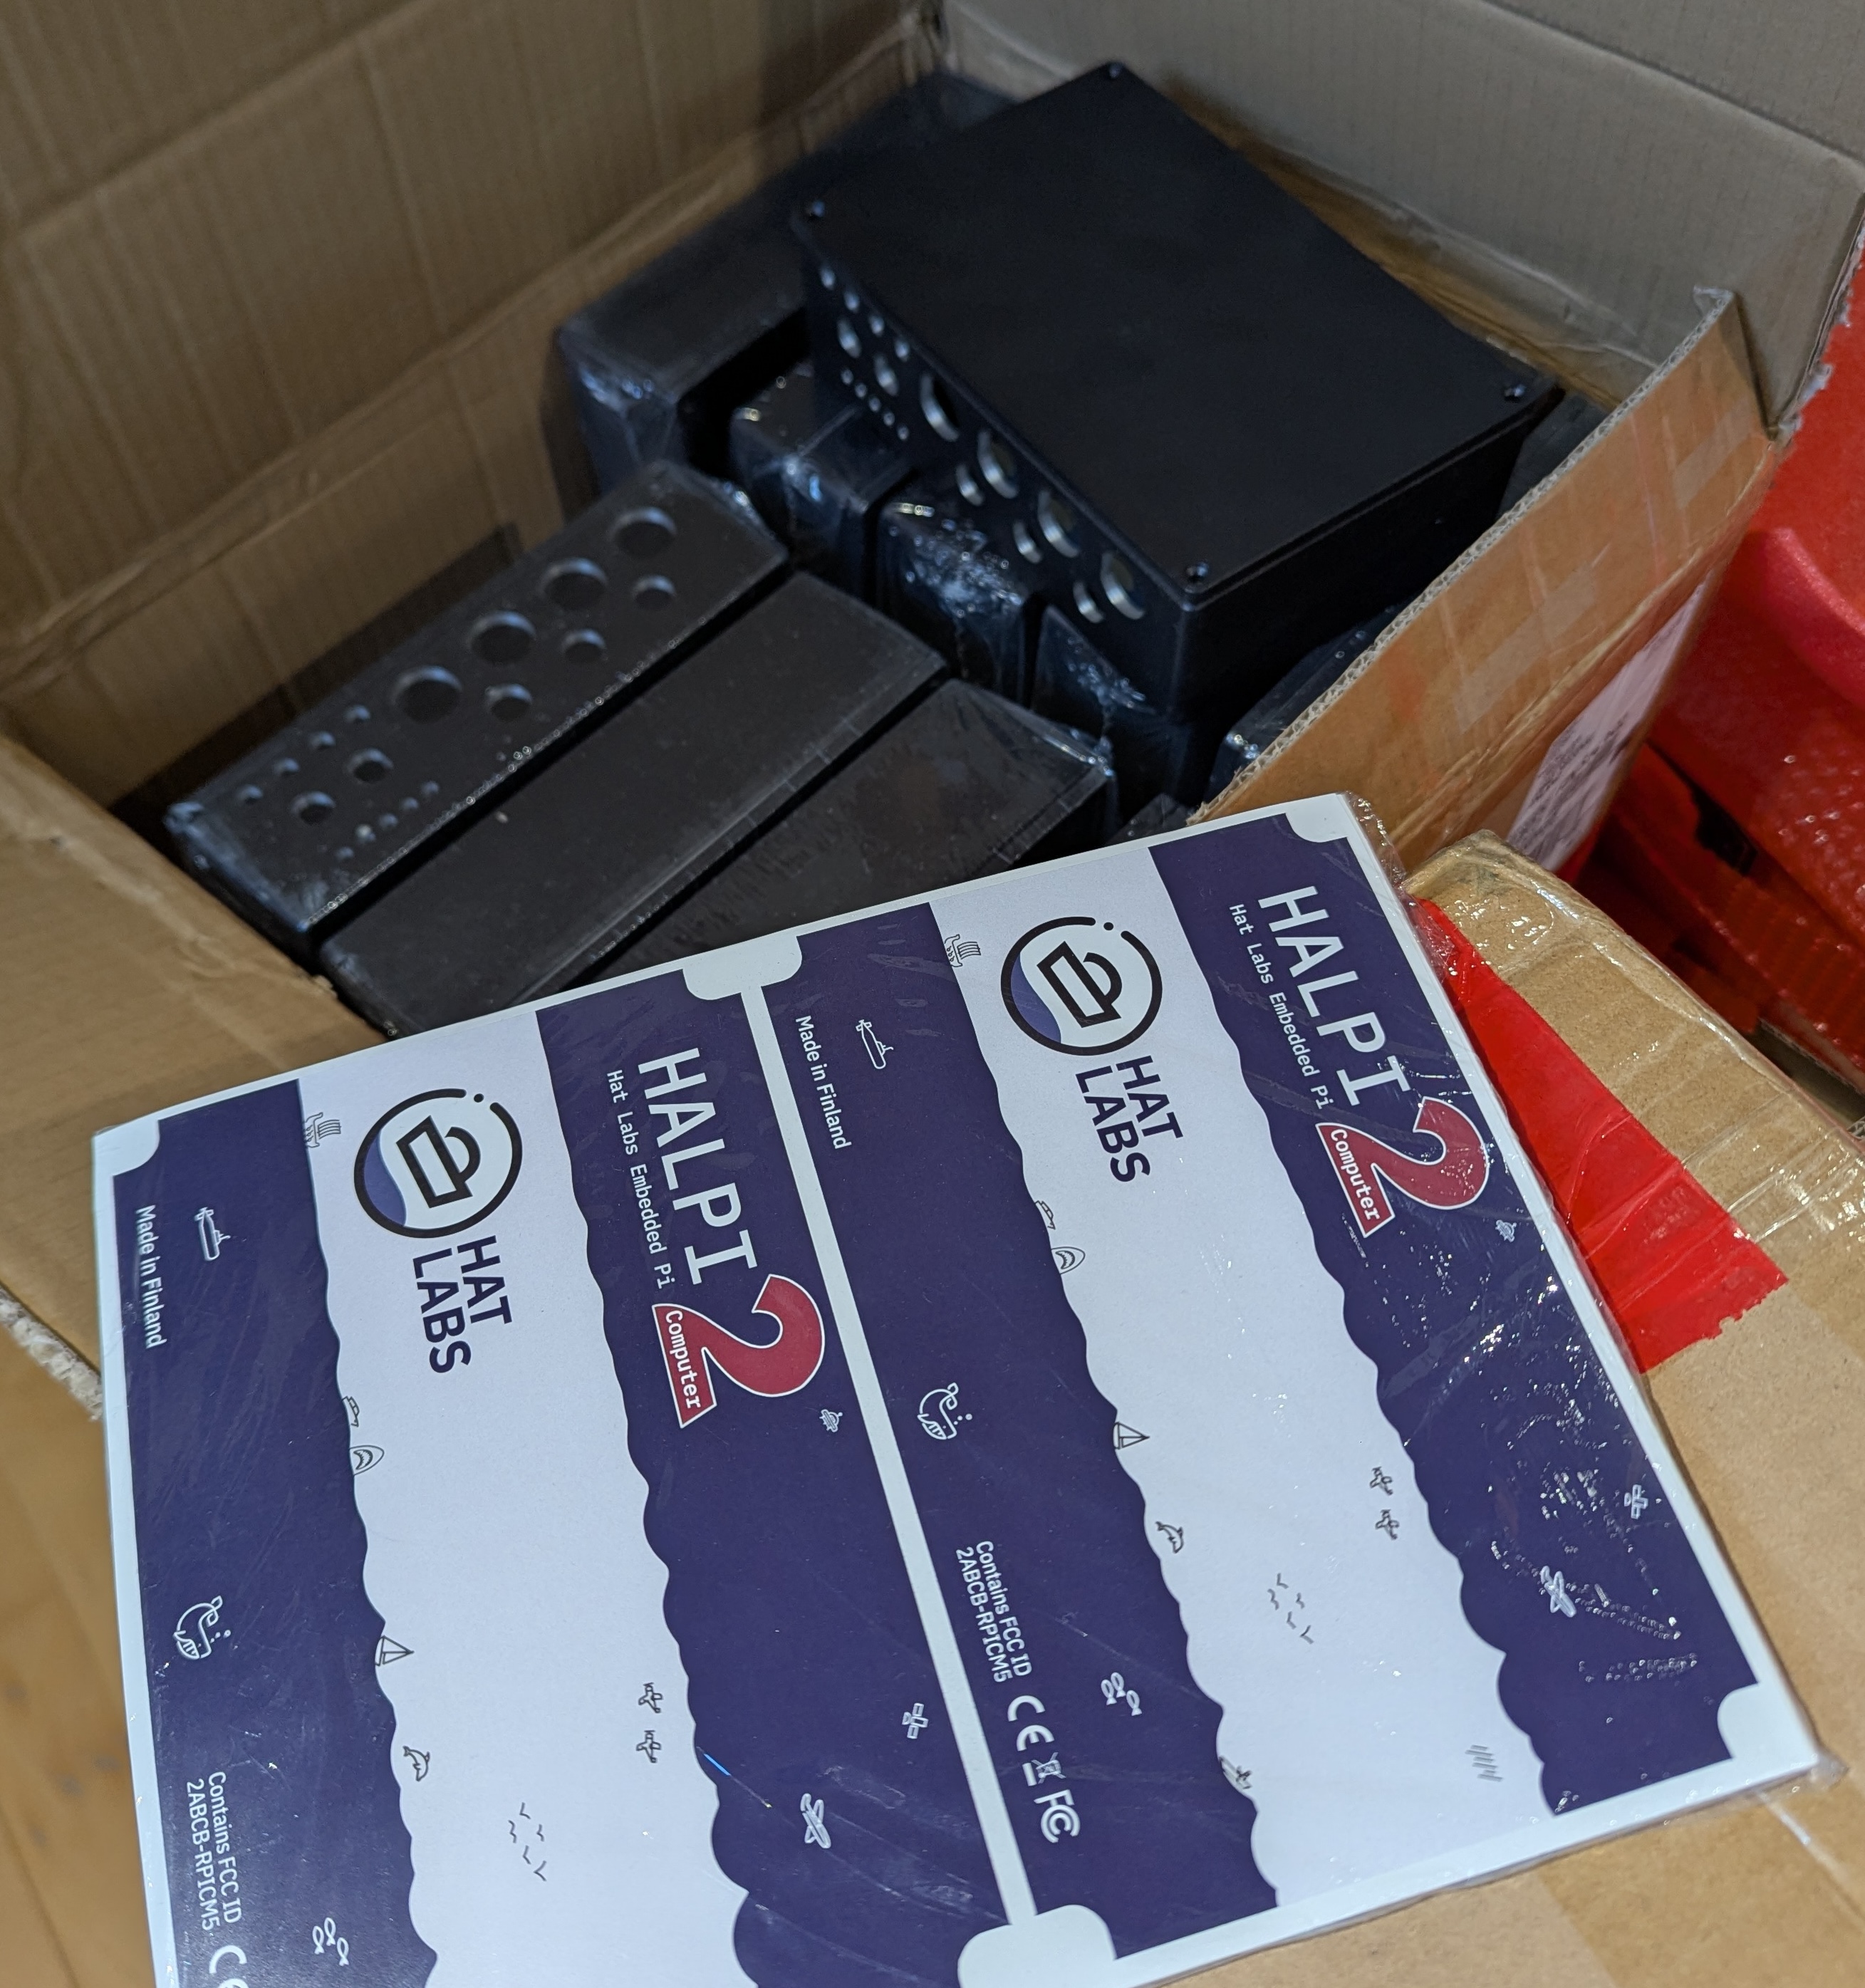
One of the several boxes of HALPI2 enclosures. Also, a sneak peek of the HALPI2 stickers!
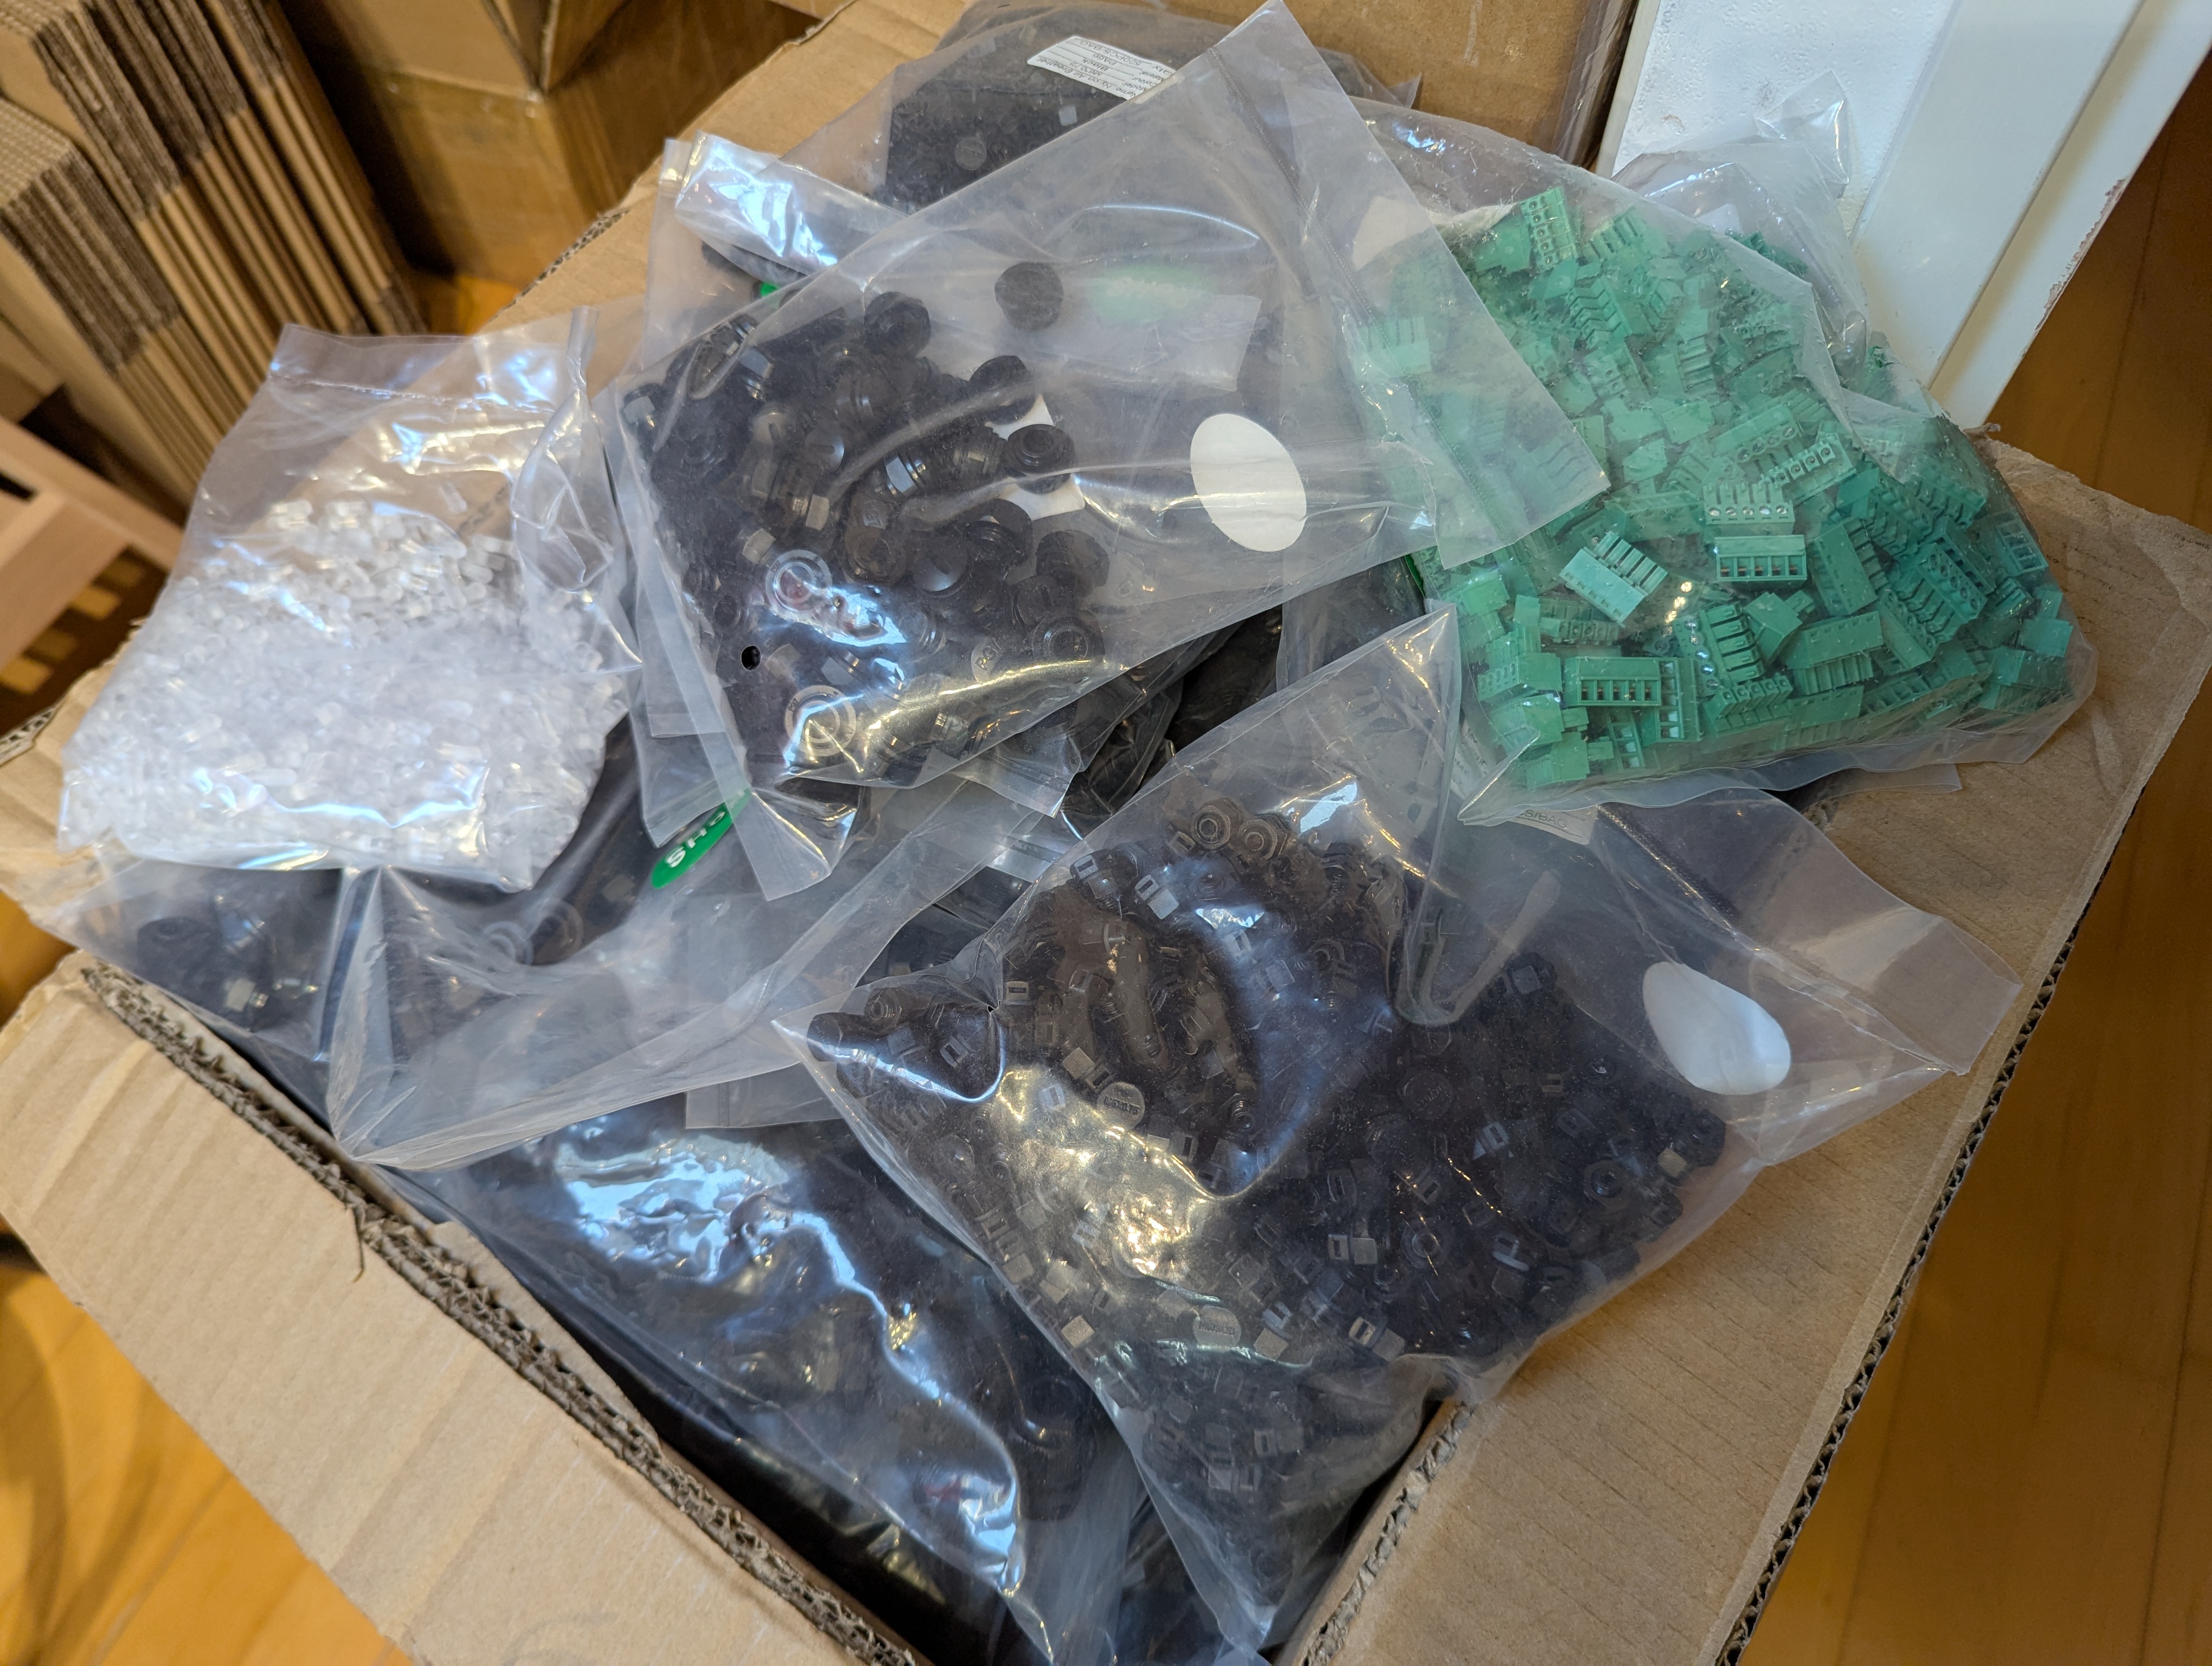
Assorted bits and pieces for HALPI2 production: terminal blocks, LED light pipes, breather plugs, blind nuts, cable glands, and more.
Assembling the devices is not enough, though. Production testing is also needed to ensure the devices work correctly. My previous products have been tested using custom 3D printed bed of nails fixtures. The test softwre has been written either for an ESP32 or a Raspberry Pi controller depending on the product. Development of each new test fixture has taken a lot of time, and I have been looking for a better solution.
I have now designed a custom tester board that can be used to rapidly develop new test fixtures. The board is called HALSPA (Hat Labs Spaghetti Board) and is used as a kind of super-peripheral board for a Raspberry Pi Pico 2 and a Raspberry Pi computer. It supports a couple of digitally controlled current-limited 12V outputs, several 3.3V and 5V outputs with current limiting and monitoring, a ton of digital I/O, a good number of analog MUXes and 8 ADC inputs as well as other goodies such as on-board USB ports, 5V level shifters, and so on. The intended usage is to connect a bed of nails to the HALSPA I/O pins. The onboard Raspberry Pi Pico 2 development board will be connected to a Raspberry Pi computer, which will run the test software. The HALSPA board will be used to control the test fixture and read the test results.
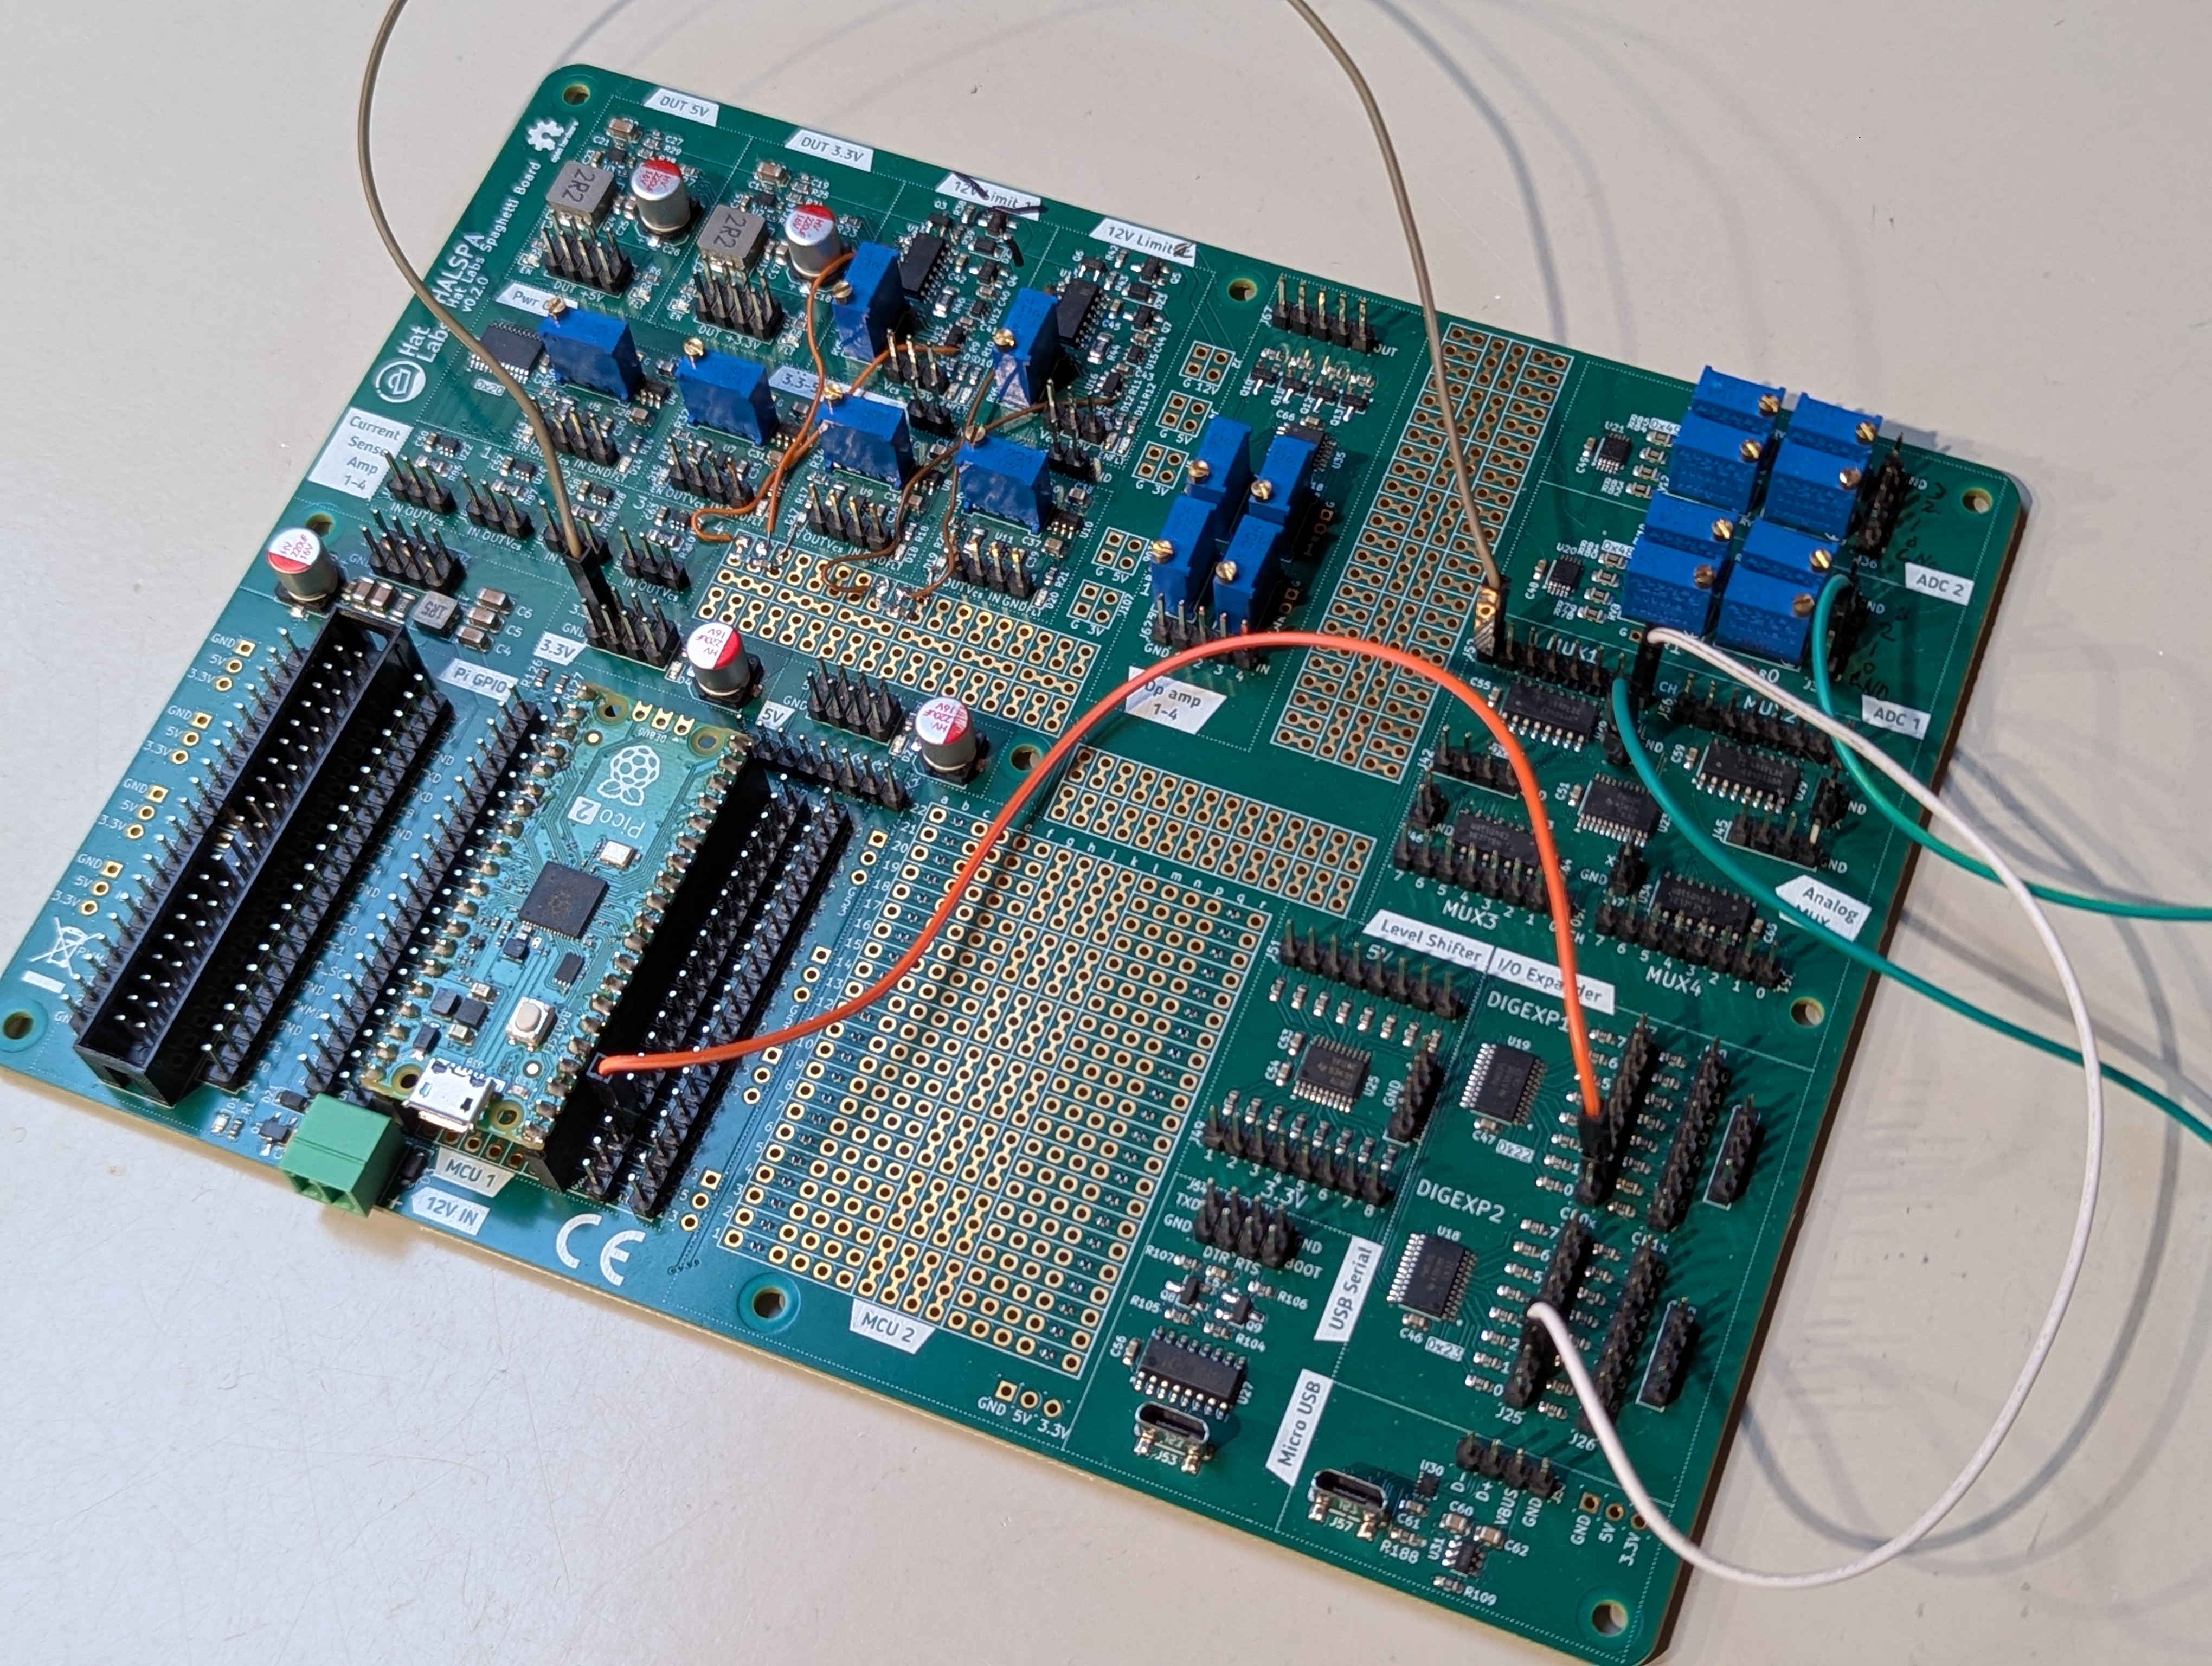
HALSPA board with a Raspberry Pi Pico 2. The board is designed to be an interface between a bed of nails and a Raspberry Pi computer.
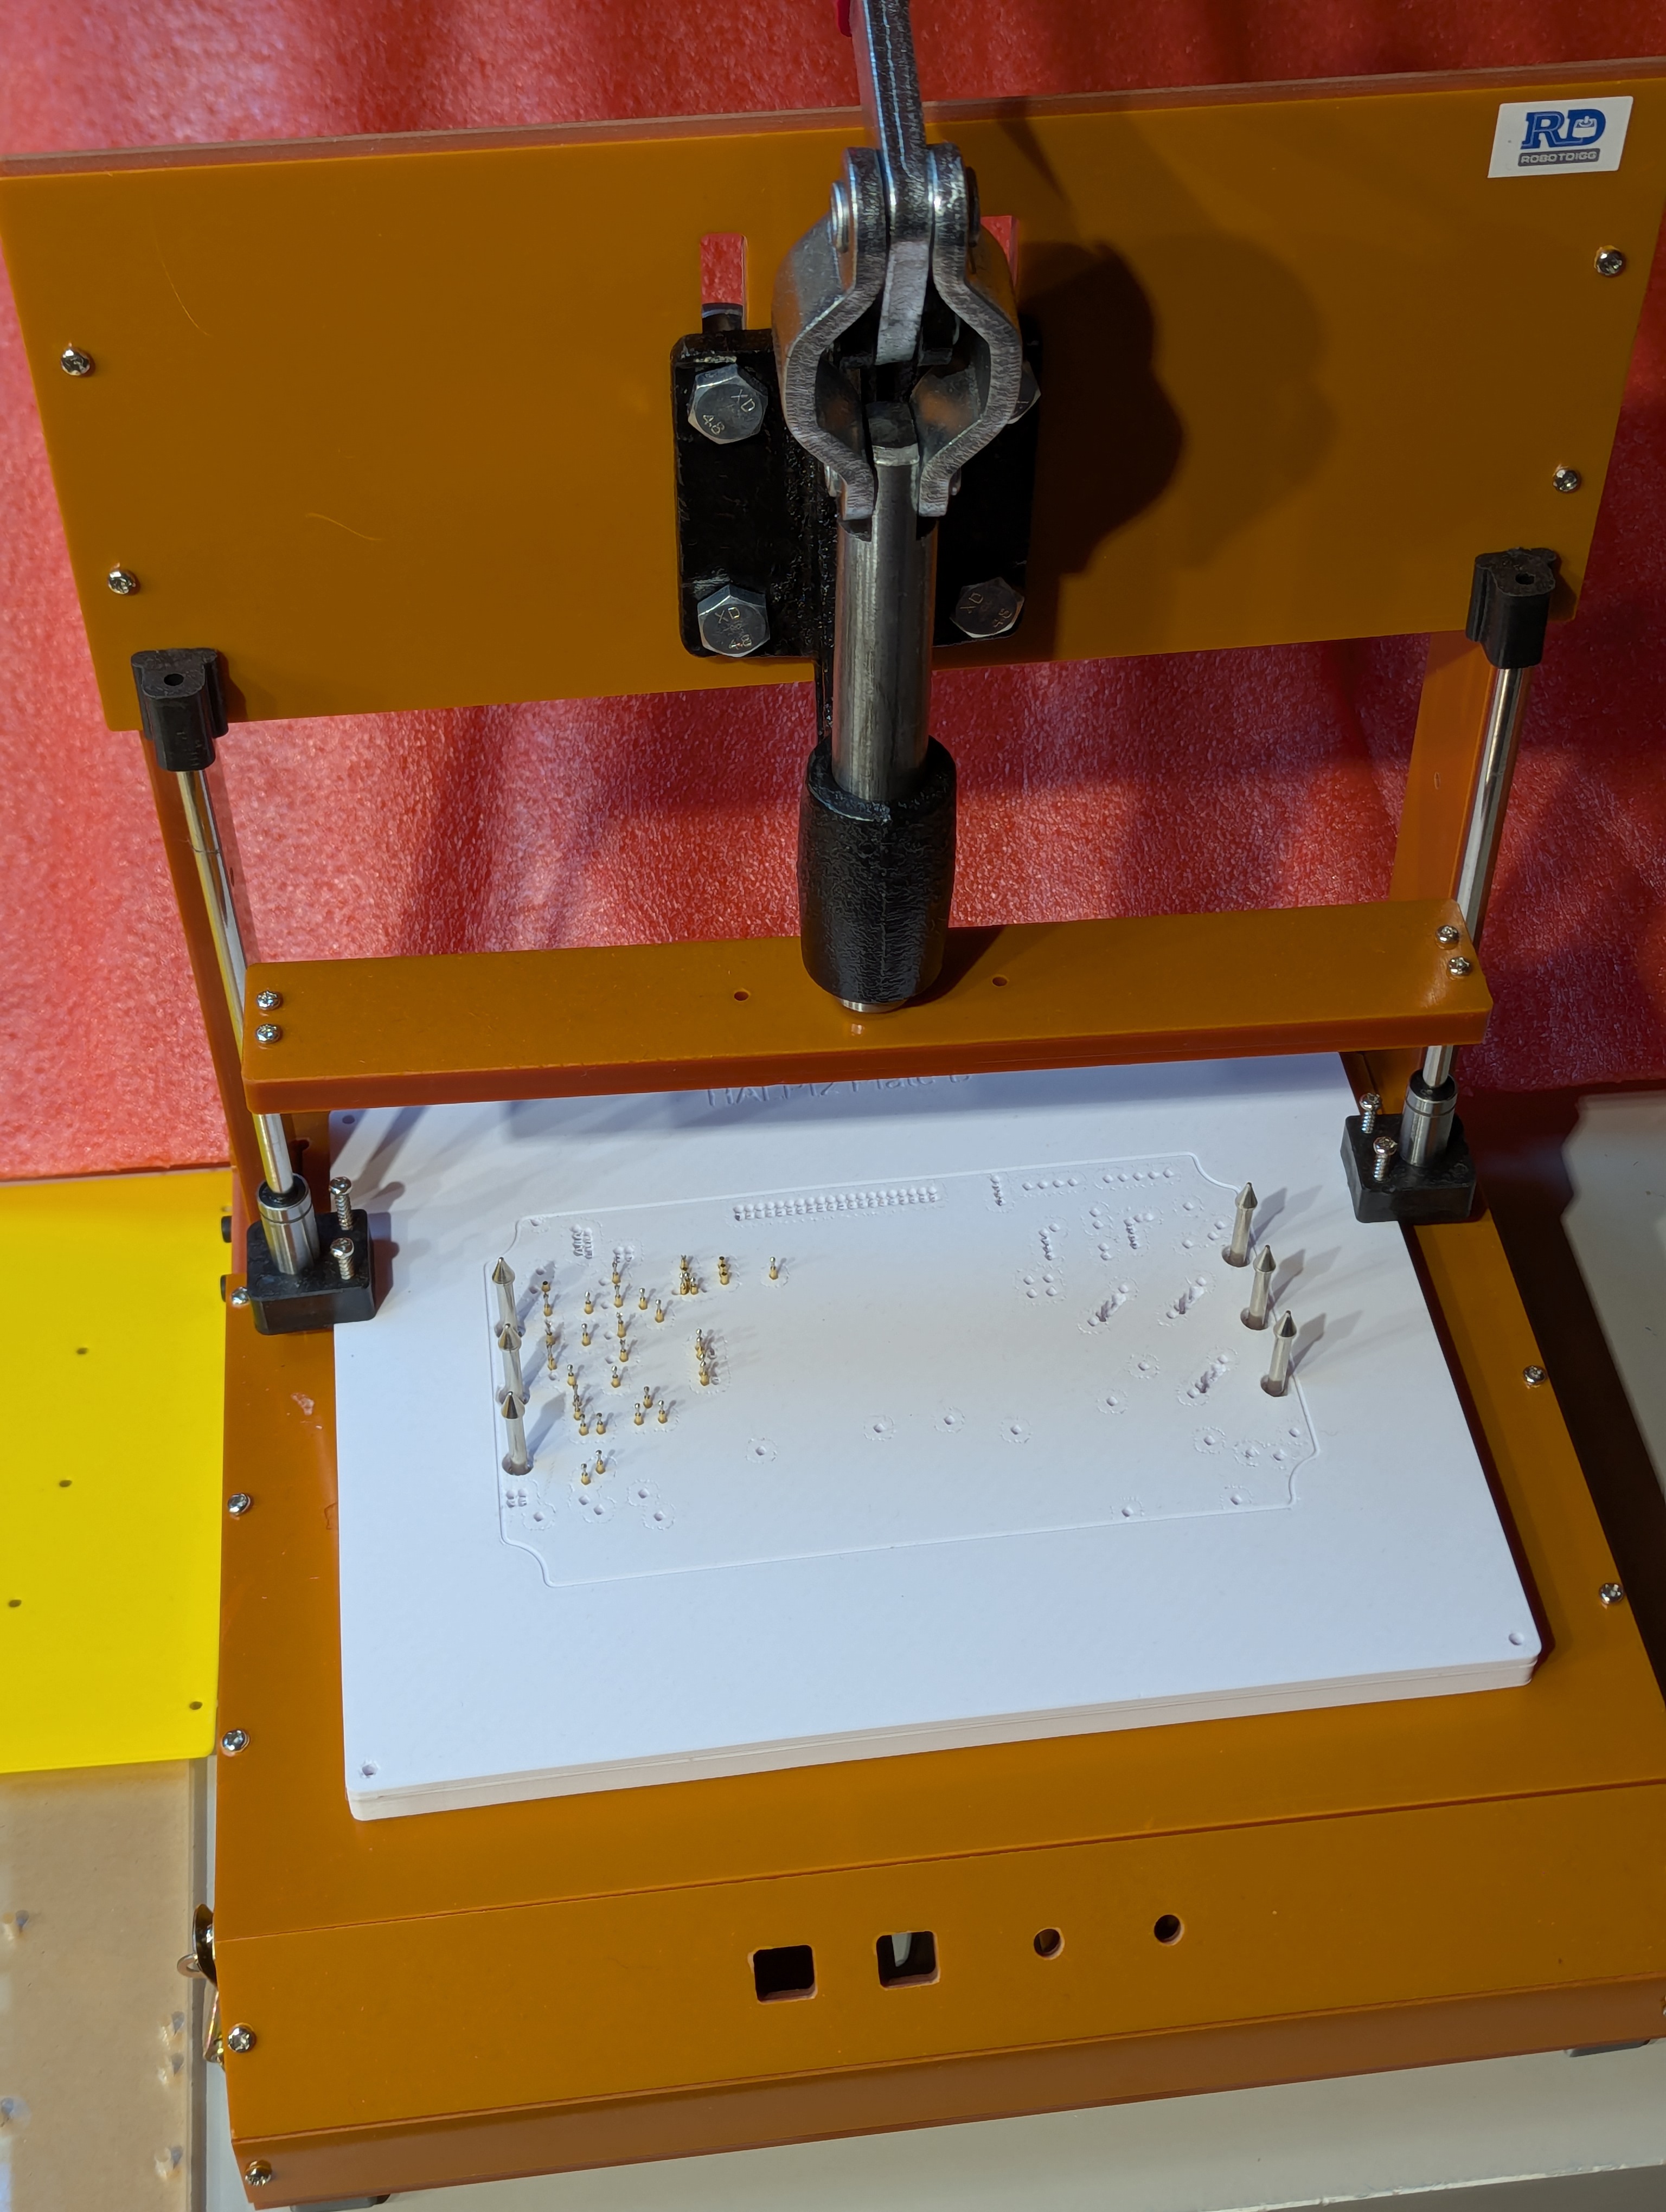
A test jig with a partially populated bed of nails connected. The device under test is placed on top of the bed of nails and pressed against it using the lever. The test stack can be easily swapped out for different devices under test.
For semi-automated production of bed of nails fixtures, I have designed a custom Python script, kitfg that interacts with KiCAD and generates 3D models of the bed of nails fixtures. Acrylic sheets can be cut using a laser cutter, or the test plates can be 3D printed.
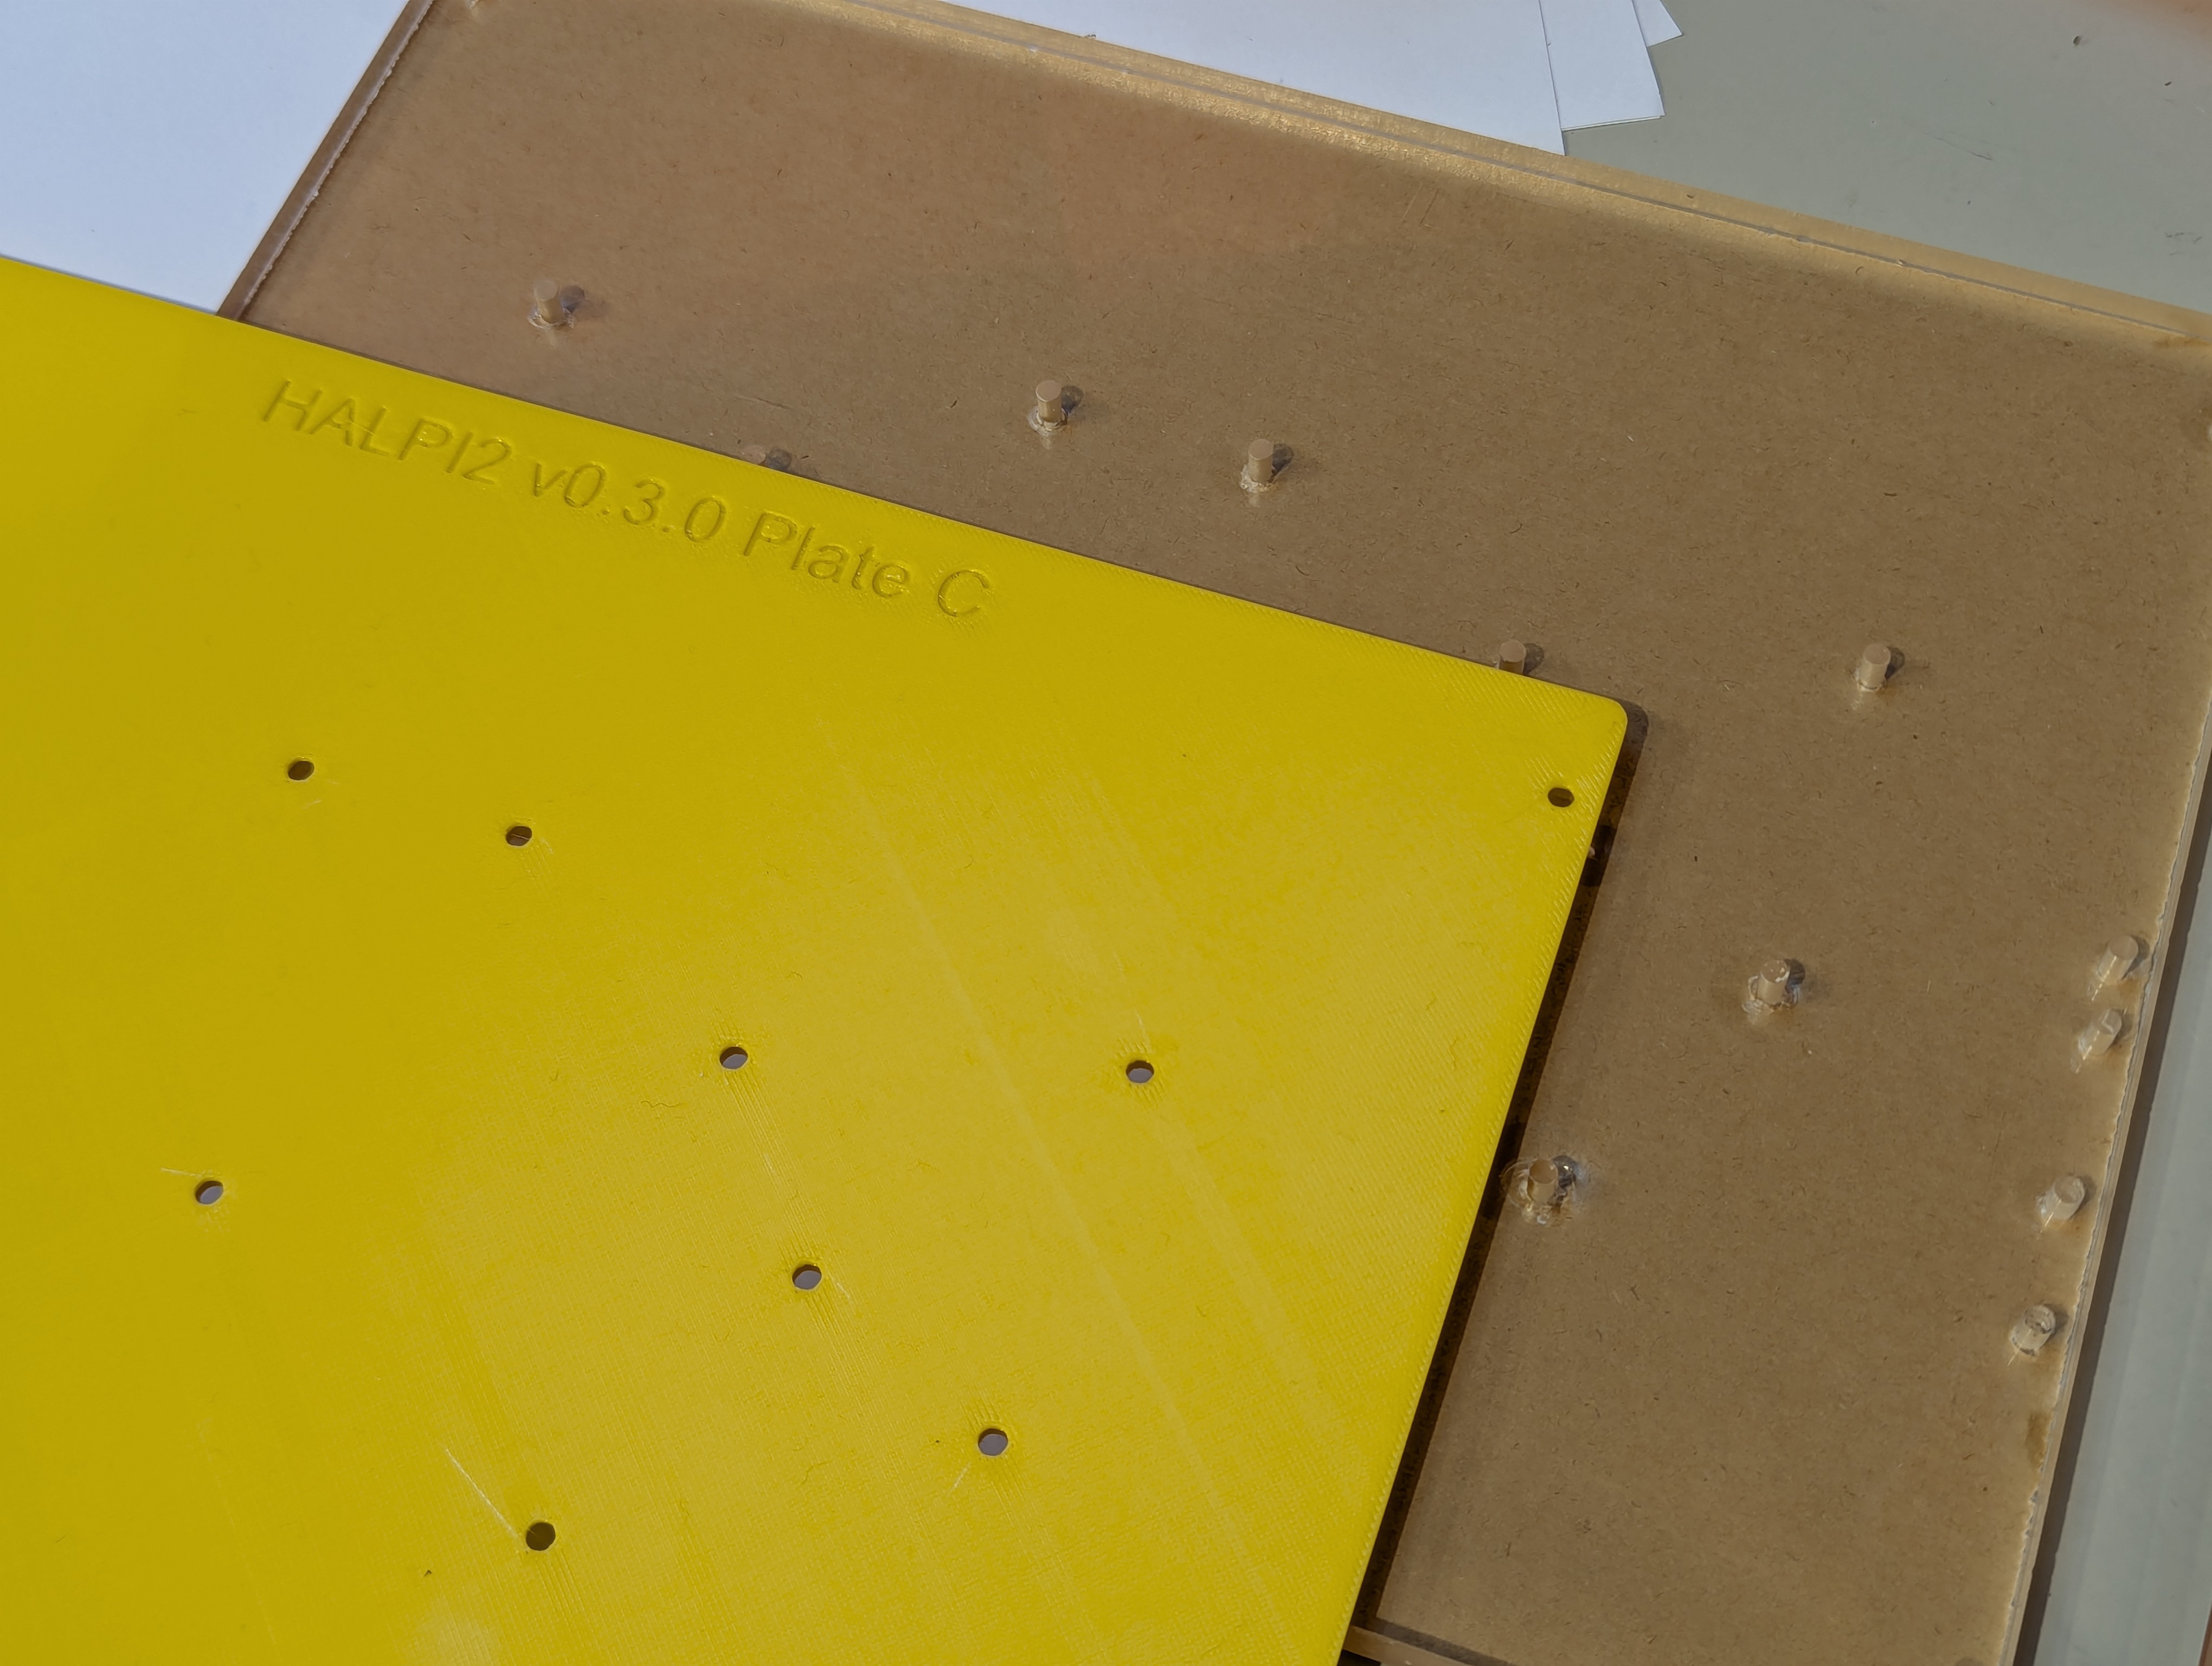
A drill jig for a bed of nails fixture, generated using kitfg. The jig is used to drill holes in the acrylic sheet for the top pressure plate. Even if other parts would be 3D printed, it is nice if the top plate is transparent.
Rambling a bit more about HALSPA, I have landed on a software architecture that is both delightfully hacky and surprisingly effective. The tests are implemented as Python unit tests using the pytest framework. The Pico 2 board runs Micropython, and the test library sends Python code to the Pico 2 over USB. Standard operations such as digital I/O, analog input and power control are implemented in the host Python code, but for more complex operations such as rapid sampling of inputs, complete test scripts can be sent to the Pico 2 for execution. This allows for rapid development of new tests, as the test scripts can be written in Python and executed on the Pico 2 without needing to recompile the firmware. The HALSPA board is designed to be flexible and adaptable, allowing for easy modifications and additions to the test fixtures.
Eventually, I hope to have an integrated touch UI for the test software that will allow the user to control the tests and view the results on a touchscreen.